Sunday, October 24, 2010

Cello Neck Replacement


I didn't take a picture of it, but I decided to drill small holes at the base of the tenon show here, create a shallow mortice and insert a new maple button for the disfigured and broken existing button.  It was in too bad shape (broken in half and disfigured) to use. The maple insert was around four inches long and the width of the button (under 30mm).  I chose this method rather than removing the back, which I felt was ill advised. I created the illusion of a center seam going through the button.
  

There was a significant base bar crack on the top.  I decided to remove the base bar and attach four cleats to the crack.
 
 
Finally I was able to get to the neck replacement!  I'm still working on refining the shape of the neck. 
   

Cello Shots

Wednesday, October 13, 2010

Robby's Fiddle Restoration


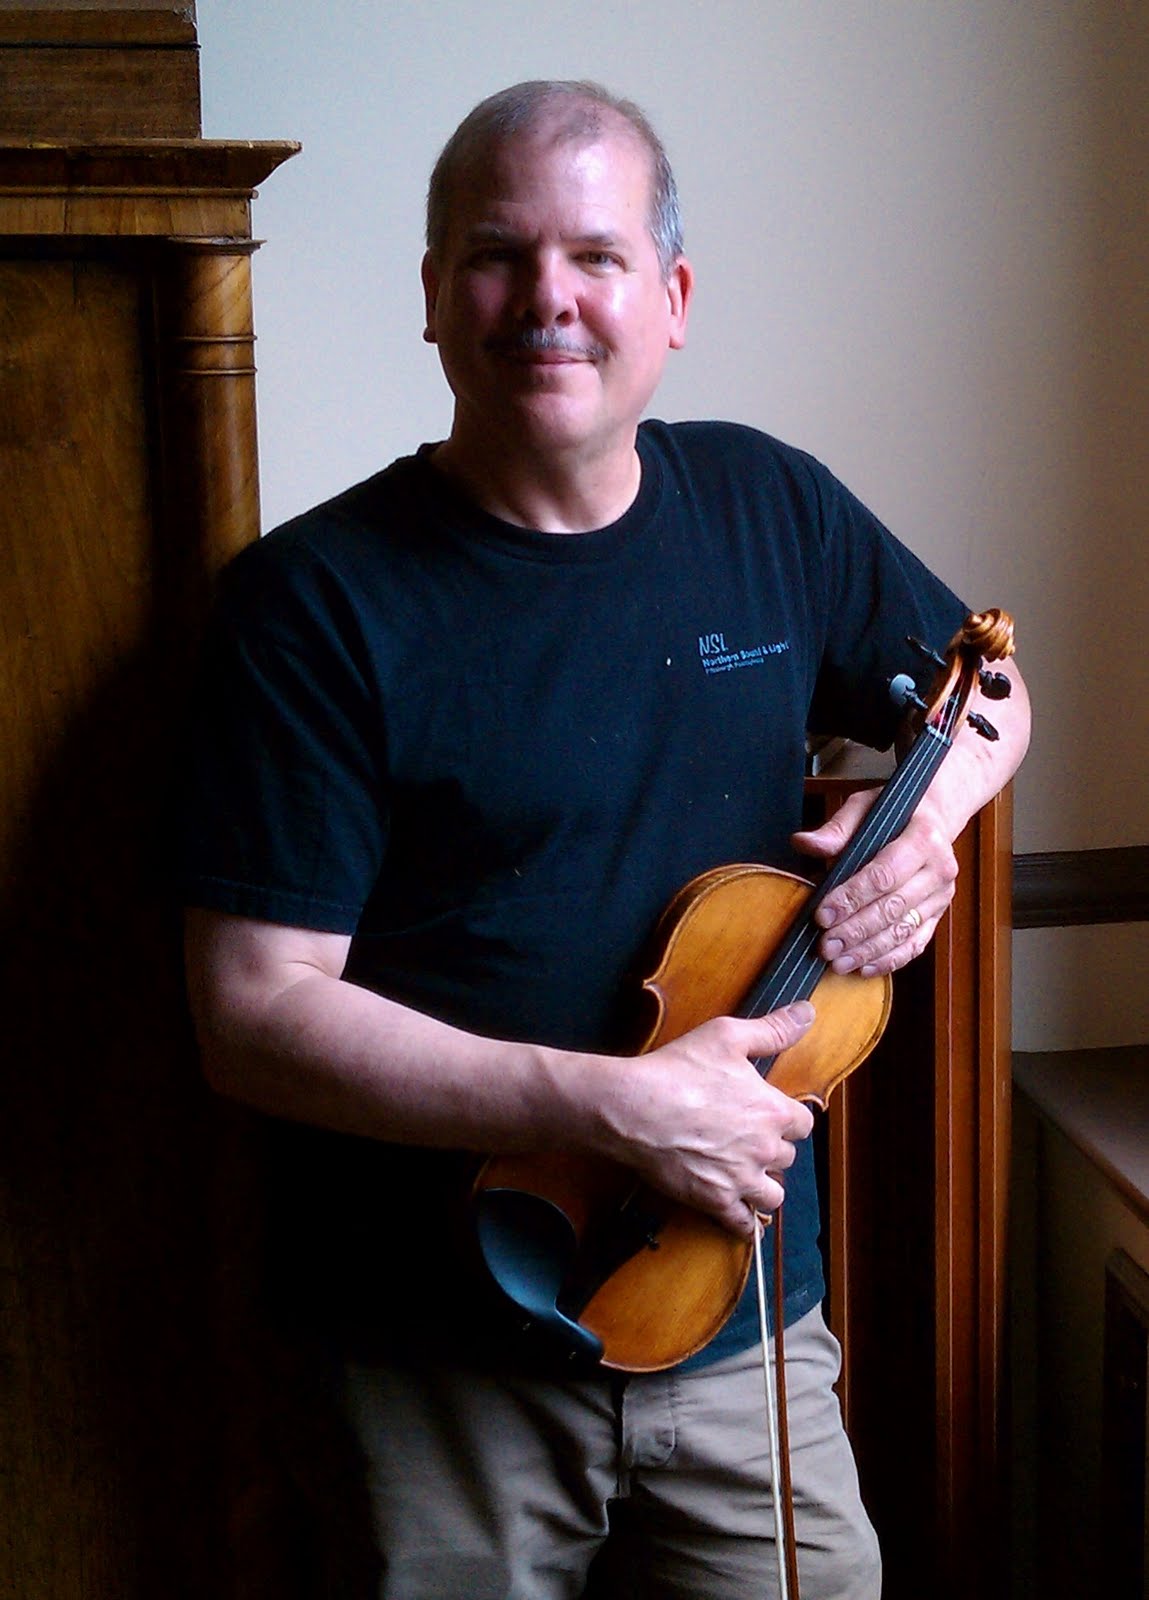
Singer/Songwriter and good friend, Robby, received this violin from a relative. I offered to fix some of the problems it had including a shiney lacquer on the fingerboard that had areas of a chipped finish among other problems. The back had come unglued at the bottom block leaving a gap that needed to be closed. The bridge had been poorly fitted, was warped and needed to be replaced. The strings were old, dirty and oxidized.

The violin is old but has no label inside. It is an inexpensive instrument but has pretty darn good tone and would make someone happy to play. There is no ebony anywhere on this instrument. It does have blocks and linings and a well fashioned scroll. I had fun bring this instrument back to use again.
Posted by Picasa

Thursday, September 16, 2010

My Daughter

On August 15, 2010 my daughter, Holly went missing while on a pontoon boat with her friends at work.  10 days later her body was found in the general area of where she was last seen.  This has been and continues to be a very difficult time for me, my wife and daughter.  We miss our youngest daughter very much and struggle every day with a range of emotions.  We are people of faith and take comfort in the promises of God in our lives here on earth and the life beyond.  Please keep us in your prayers.

Thursday, July 29, 2010

Violin Maker's Shop

Recently I visited Chicago with some very dear friends.  I knew this gentleman had a violin shop there and called to see if I might visit briefly.  He was very gracious with his time and talent.  Michael Darnton is a very accomplished violin maker with whom I came in contact through an online violin making forum.  He has been a regular contributor to the forum and has been very helpful to me (and many others) regarding violin making.  While there I witnessed him carve and fit a new bridge on a viola for a member of the Chicago Symphony.  A very valuable lesson indeed!  I took this snap of him before I left.

Sunday, July 25, 2010

Jimmy's Violin Restoration

This very old violin was owed by Jimmy's wife's mother, who received it from her father when she was a young girl.  It is a Czechoslovakian Antonio Stradivarius copy. 
When I received this violin, it was in very poor condition. The rib seams at the area of the end block were wide open having come loose from the top and bottom plates.  Several other areas of the top and bottom plates had open seams.  The end pin was half out of the violin and was bent in the shape of macaroni.  It had bent the rib up and away from the belly and back plates because the strings were still on the violin with significant tension on them.  The end block had completely separated from the top and bottom plates and was only held by the ribs.  The violin had a bent bridge - another indication that the it must have experienced significant humidity and heat to be in this shape.  It appeared to have been hung on a wall because it had a ribbon attached to the fingerboard that was used to hang it up.  The fingerboard was not ebony and had serious grooves from many years of playing. The sound post was missing.  I enjoyed bring this fiddle back to life so that it could continue to be passed from generation to generation as a playable instrument.
Posted by Picasa

Sunday, April 25, 2010

The Final Violin

On April 24, 2010 I finished this violin.  I hope to finish another one by the end of this year between other repairs.

Friday, February 12, 2010

William & Mary Style Drop Leaf Table Restoration


I recently finished restoring this drop leaf table. My wife and I bought it at an antique store. It was missing one of the gate leg assemblies (two horizontal spindles and the gate leg.  I turned new spindles and refinished the entire table.  I am now in the process of selling it.  It was a fun little project.
Posted by Picasa

Tuesday, December 29, 2009

Violin "In The White"


I have been working on this violin off and on for about 2 1/2 years. Since September of this year I have finished carving out the insides of the top and bottom plates attached them to the ribs, carved the scroll and neck, and installed the neck onto the violin body. I am now at the point of varnishing the violin.

Wednesday, September 30, 2009

Violin Update: Purfling


In the month of September, I began working on my violin again. I had put it off for well over a year because I began getting a lot of custom woodcraft and repair projects to do. I have backed off seeking new projects in order to work on the violin. Since the last post years ago, I have finished carving the violin plates, have carved the f-holes and have cut the channels for the purfling. This is a picture of the setup I used to cut the channels using a Dremel tool and 1.3 mm channel cutting bit. It was extremely scary to do. I thought it best to immobilize the tool and move the plates with both hands. I was successful in cutting the channels in both plates with no mistakes!

Tuesday, August 04, 2009

Garden Potting Table


This is a Garden Potting Table built to client's specifications. I came up with this design idea. Removing four deck screws in the lower shelf allows you to adjust it up or down. It took four hours to cut and assemble this table. The goal of this project was to keep building materials and construction costs down. All joints are glued and air nailed butt joints, reinforced with deck screws. I used 3/8" dowels to join the table top to the table apron. The design ensures that legs will not weaken individually. Stress put on any leg is distributed over the lower shelf because they are all directly connected. The table will eventually be painted by the client.

Monday, April 27, 2009

Victorian Chair Repair


I was asked to repair this beautiful Victorian cushioned chair. Below is a short video showing how the repair was made:


Wednesday, February 04, 2009

Ornate Leather Highback Chair Restoration


January 2009 - This beautiful chair was in the process of being delivered to it's new owner when it fell off the back of a pick-up truck. It landed directly on the sculptured appointment on the chair back and broke into several pieces, some of which were never found. both arms were also broken off. The chair back sculpture was painstakingly pieced back together and missing parts were recreated. The chair arms and legs were reattached and/or reinforced. This was a challenging and very enjoyable restoration.

Wednesday, November 05, 2008


My daughter in college found a new apartment but did not have a bedside table to put next to her desk. I agreed to build her one out of shop scraps. This was the result. It is made from 3/4 Luan plywood for the top (edged with 1/8 inch poplar strips), drawer and door fronts; half-inch plywood for the drawer sides and back, a piece of 1/4 oak plywood for the drawer bottom; poplar side and back frames over which was placed 1/4 inch beadboard; 1/4 inch pine plywood for the back; and pine 2x4s for the legs. All joinery was kreg pocket hole screws and glue - sometimes glue only. I used pin nails and glue to attach the side panels and attached the top with metal plate fasteners and screws. I could have simply glued the top on but chose the plates and screws. I stained the cabinet with some oil-based stain I had left over from other projects and covered the cabinet with two coats of minwax wipe-on poly. The top was finished with two coats of Zinsser seal-coat (dewaxed) and three coats of minwax wip-on poly for extra durability and smoothness.